
This Bed We Made Guide: Room 507
Area List (Tap to jump down the page!) |
||
Fifth Floor Lobby & The Body |
||
The Interview Room Endings |
Fifth Floor Lobby & The Body
With all the rooms done, you’ll start this section with the body of Mr Cruz blocking the lift. Be sure to examine his body. There’s a blood-stained letter in his back pocket. Next, head along the hallway, retracing the bloodstains until you reach the freezer. Pick up the Screwdriver from the ground and be sure to watch out for the bloodstain. The “good” ending is tied to not stepping in this, while the “bad” ending requires you to leave footprints everywhere.
Just to the back of the stain, you’ll find a diary you can sift through. On the final blood-stained page, be sure to cycle over the words and examine deeper. There’s also a bunch of other documents behind this too.

Next, throw away the camera on the back of the ice machine and then turn back to check out the table by the vents. There’s a cigarette box there, so pick it up and check the initials on the back.
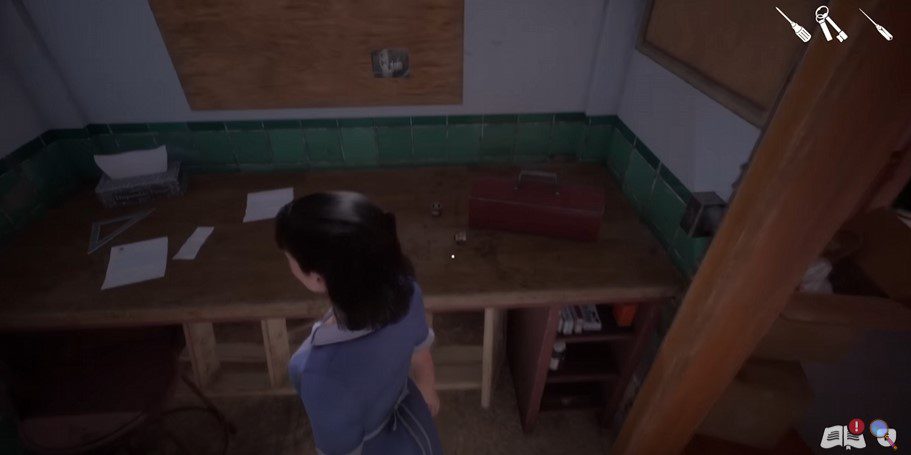
Head all the way back up the hallway again after this and into the maintenance closet once more. In front of the toolbox, be sure to pick up the fuses (pictured below).
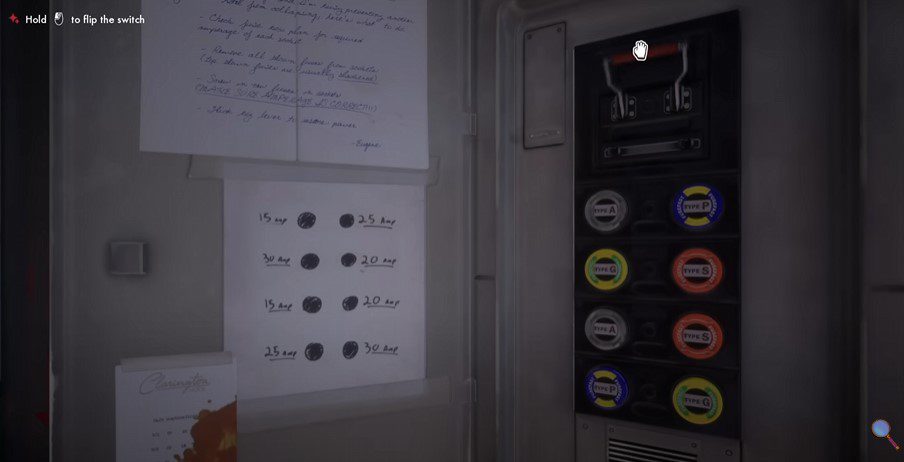
Now, with the screwdriver in hand, use this on the fuse box just to the left of the Kissing Spot we unlocked earlier in this room. Inspect Eugene’s writing on the left hand side, specifically the blood-spattered document with codes on. This will basically confirm where the different Fuses need to go and, coupled with the document from the basement, in the tray just under the noticeboard in the laundry room, is enough to solve this riddle.
You need to remove the busted Fuse from the top right slot and place Fuse A in there. Just below this, place Fuse G and then the final slot, place Type S in there. When you’re done, flip the switch to turn the power back on.
With the power returned, head into Room 509 and crack the combination to the safe. Again, everything we’ve learned so far across the documents gathered will reveal the clues but if you just want the combination, it’s 23-42-16. Inside the safe you’ll find another handgun and a handwritten note from S.W.
Be sure to flip it over and check the newspaper heading on the back. This will reveal crucial clues, that links all the way back to room 504. For now, head into Room 505 and use the phone. However, there’s no answer. Close the safe door and also the front door too, before interacting with the elevator.
Back to The Entrance Lobby
From the lobby, head into the reception and pick up the phone. Sophie will phone the police and they’ll be on their way. While you wait, check out the documents behind the reception, including a flyer, a document regarding our VIP guest and the train tickets too.
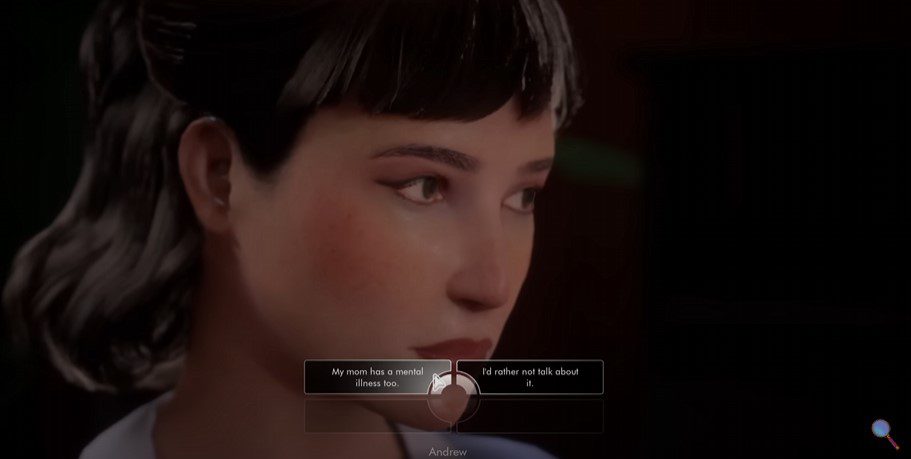
With all of this gathered, head back out and toward the front door. Your partner in crime will show up and a cutscene will trigger. Revealing dialogue here will discuss Sophie’s past, including details about her mother too.
The Interview Room Endings
At this point, there are two choices to make. If you’ve followed the guide up to this point, we’ll now be faced with a number of different endings, depending on what you choose in the dialogue during the interrogation.
The “Good” Ending
After opening the Room 509 Safe and reading the newspaper, we will have already removed all items from Rooms 505 and 507 earlier in the guide so don’t worry about that. However, you want to also make sure you’ve removed the following from the different areas:
Room 509
- The letters in the case on the bed.
- Secret Notes on the table.
Fifth Floor Hallway
- Diary at the ice machine (be sure not to step in the blood here and trapse footprints all over the place!)
- Evidence at the corpse (the note in the back pocket).
Reception
- The letter
- Railway tickets
- The brochure.
With all of this done, to unlock the following achievements: The Real Culprit?, Method Acting, This Is California and Bye Bye Bernard, choose the following dialogue options:
-Mr. Cruz’s body was blocking the doors.
-I used an ice pick.
-No, nothing.
-Mr. Cruz received some death threats.
-Mr. Cruz told me.
-I don’t know anything about him.
-I don’t know anything about her.
The “Bad” Mystery Unsolved Ending
In order to unlock a few more achievements, follow the same method as above, including throwing everything away in Rooms 505 and 507, along with opening the safe in room 509 to read the newspaper. Afterwards, you want to remove:
Room 509
- Letters in the case on the bed
- Secret Notes on the table
- Newspaper in the safe
Fifth floor Hallway
- Diary at the ice machine
- Evidence at the corpse
Reception
- The letter
- Railway tickets
- The brochure.
Also, you want to make sure all the doors and safes are left wide open, and keep hold of the keys too. The blood by the ice machine needs to be walked through too, so make sure you leave footprints all over the place.
With all of this done, to unlock the following achievements: Dead End and Gone and This Bed You Made, choose the following dialogue options during the interview:
-Mr. Cruz’s body was blocking the doors.
-I used an ice pick.
-No, nothing.
-It was just an assumption.
-I don’t know anything about her/him.
-I don’t know anything about him/her.
The End
When you regain control of Sophie again, head all the way through the hotel lobby into Bernard’s office. At this point, you’ll either get your Acolyte fired or saved, which triggers two different achievements either way. If you’ve done a good job with your maid duties up to this point, you’ll gain a promotion, but you can choose to quit if you wish, to unlock another achievement.
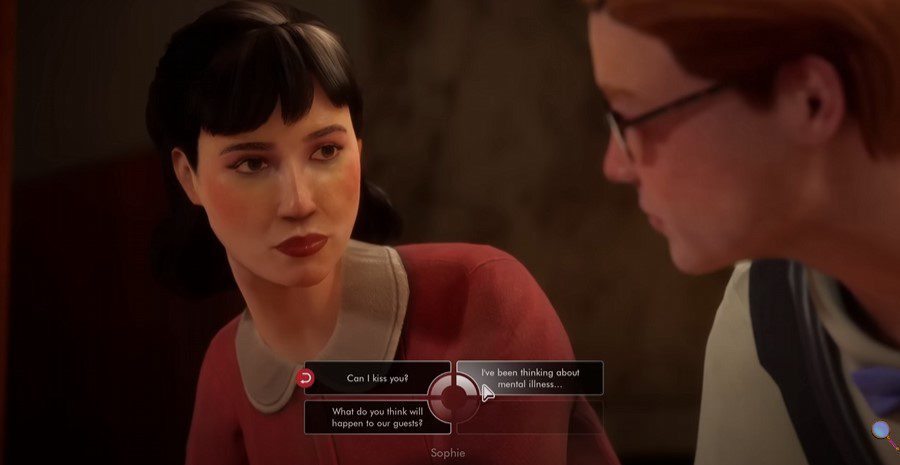
After this, be sure to chat with your Acolyte in the hallway and choose to kiss them to trigger another achievement too. Depending on your choices up to this point, you’ll have a number of different still images to show the fate of every character, before bringing the game to a close.
<< Room 507 |
|
You can check out our full walkthrough and game guide here! |
|
I followed this guide but did not get the true good ending I think. Beth was fired but other than that all characters got a good ending except for Sophie who got arrested for tempering with evidence but when she got out Beth was waiting for her so I guess it was a good ending in the end after all.
Same, LA. I followed this guide to a T and still got a bad ending
This walkthrough was not specific enough and I got a mixture of both endings :/