
This Bed We Made Guide: Room 507
Area List (Tap to jump down the page!) |
||
Room 507 |
||
Room 505 & Hallway |
||
Back To Room 507 |
Room 507
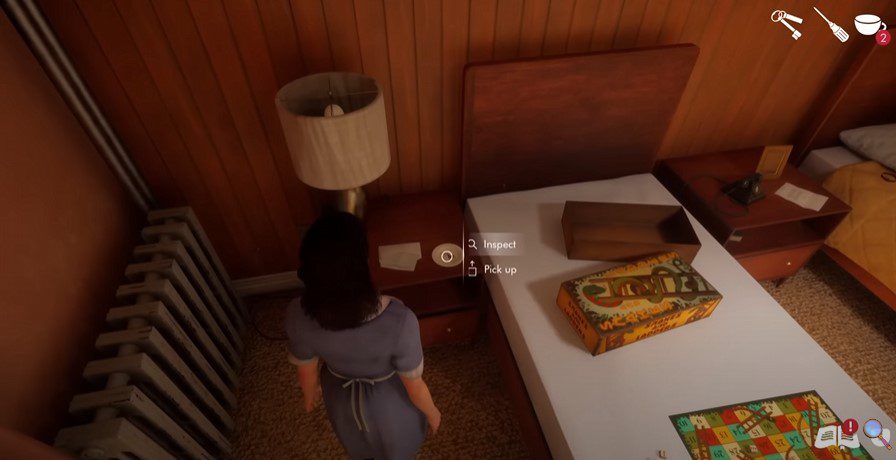
When you enter the room, check the dresser on the side to find a business card for Mr Cruz. Flip it over and you’ll find 1824 circled. Grab the cup next to find lipstick on the side. Opposite this, you’ll find a note to Sophie on the dresser side. Just on the row under from the lamp, you’ll find a torn shred of a document. Work your way round the room and check out the makeshift sheet fort, where you’ll find a postcard and a document under there worth reading.
On the far dressing table, you’ll find a key in a dish and a document next to it. Read the document and grab the key. This will open one half of the locks for the suitcase on the bed.
There’s also a letter on the middle dresser too. For now, head into the bathroom and read the handwritten letter on the side. There’s also a lipstick there, a ring on the back of the toilet and a photo too. Be sure to clean the bath and do your maid duties in this room. Also remember to replace the towels too!
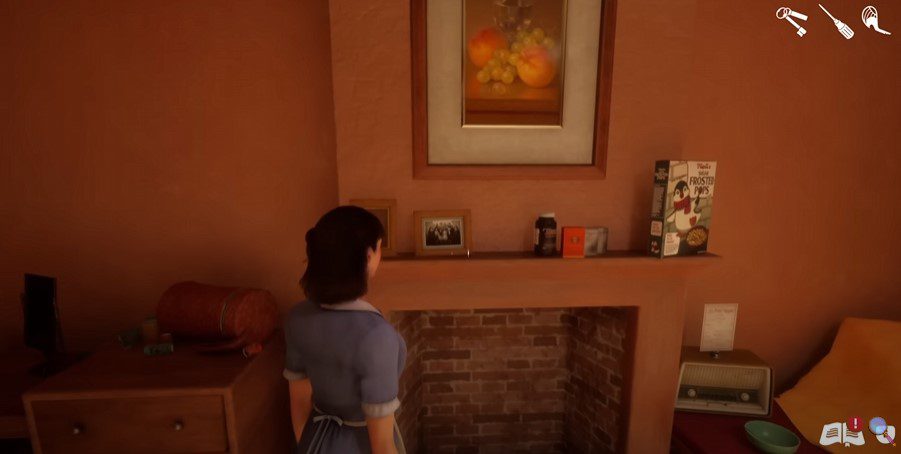
Once you’re done with the bathroom, be sure to check out the picture up on the fireplace (pictured below). Pick it up and examine the back, and you’ll be able to take off the back and find a handwritten date.
Room 505 & Hallway
Leave Room 507 and Sophie will reminisce about how the key is super familiar and seems to associate it with Room 505. Well, head into room 505 next and straight to the safe. Open it up and check out the booklet in “Mr Spade’s” safe. There, you’ll find a picture of Marcela wearing the key round her neck.
Your Acolyte will then ring and basically confirm our suspicions that there was an affair involved here. Could it be that Mrs Cruz and Mrs Beaumont are the ones involved? For now, our Acolyte will ask for some candle and plaster. It seems like we’re making a duplicate of the key!
Leave Room 505, and head all the way down the hallway until you come to the Maintenance closet. Just to the right of this, you’ll find a bag of plaster on the ground (pictured below). Pick it up.

Head all the way back to the elevator and down to the basement. Go back into the locker room again and replace the Master Key we used earlier. In the room behind this, you’ll hear Bernard and Linda arguing. Listen in to this for a while until the pair start kissing, and then head into the Breakroom.
This is directly opposite where you step out of the Locker room, between the shelves in the distance and into the half-open door. Just before you head in, check out the wall to the right, where you’ll find the final kissing spot to unlock the achievement, Writing’s On The Wall.
Head inside the breakroom and there’s another argument here you can overhear if you wish behind the door involving Wendy and Jacques. When you’re ready, check out the table, where you’ll find another key next to the magazine (pictured below).

Head back into the Locker room and be sure to open Beth’s/Andrew’s locker and inspect all items inside. This will be important for one of our achievements to unlock.
Pick up the key and head out the Break Room and into the Laundry Room. If you haven’t seen this area before, it’s just to tthe side of the locker room. Head inside and be sure to check out the noticeboard just behind the desk in the far corner. Below this, in a tray on the table, you;ll find a scrap of paper, next to a screenplay.
After examining all of this, turn opposite the sink and open the drawer to find the Candle.
On the way out the Laundry room, be sure to check out the note tucked next to the shelf on the right. Examine it closer before leaving the room. When you do, your partner will be there and guide you into making a duplicate key. This will also ping another achievement, Team Building Exercise.
There will also be some options for flirty dialogue here but using our detective skills from earlier you either want to pick “Like taming alligators?” and “I loved it” for Beth, or “Ever read banned books?” and “How do you get those books?” for Andrew. This will ping the Smooth Snooper achievement.
At this point, it’s a good idea to make a back-up save. There’s a few different things you can do from this point on to trigger the different endings, and this spot is perfect to save at, especially if you’ve been following our guide up to this point.
Back To Room 507
With the key created, head back into the elevator and back up to the fifth floor. Return to the lockbox again and turn the duplicate key slowly. Don’t force it open or you’ll break the lock inside. Only do this if you’re gunning for the “bad” ending.
Eventually, it’ll open and you’ll be able to check out the documents inside. There’s a riddle note, a document with a couple of theatre tickets and an accompanying letter with code words too, which is super handy.
Next, check out the letter addressed to Doris Day and be sure to hover over the name. Finally, check out the cat collar on the far left of the bed while inspecting the name tag. With all of this done, return all the documents to the lockbox and be sure to close it again afterwards too.
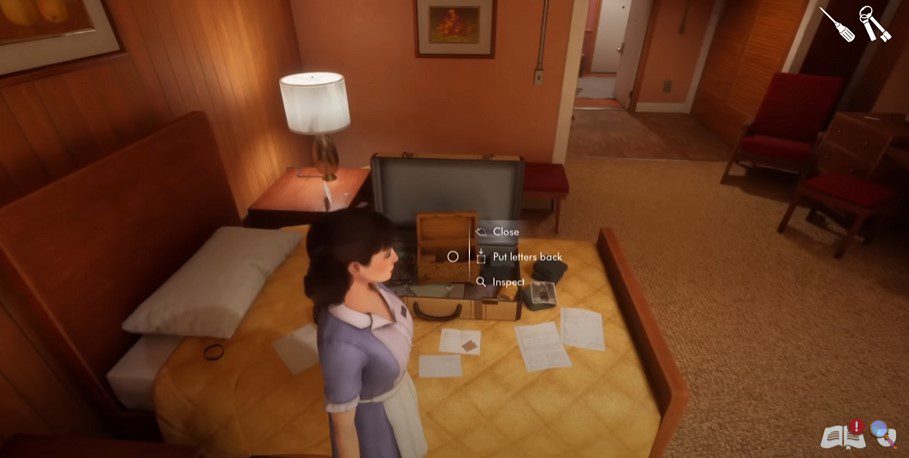
Leave Room 507 and head back into Room 509. We now have enough to open the suitcase on the bed. You should be able to decipher this using the clues from 507, but if you just want the solution, it’s G-R-I-S.
With the suitcase open, you’ll find a typewriter inside. There’s also a whole bunch of letters tucked away in the top. Some of these are written in the secret language, and be sure to check out the documents further when Sophie chirps up with her thoughts.
A cutscene will ensue after, so be sure to use the flirty options on the phone. When the call is done, be sure to clean up Room 507 completely before you leave. On the way, shut every door you’ve opened thus far, being sure to do a quick sweep if any are still messy.
When you reach the lobby with the elevator, you’ll find a dead body on the ground, blocking the lift. It’s Mr Cruz.
<< The Basement & Room 509 |
Solving The Murder >> |
You can check out our full walkthrough and game guide here! |
|