
Sea of Stars Guide – The Dweller Of Dread
Interact with the whirlpool that’s now appeared above the underwater moon and descend. Exit the boat and move all the way to the left, entering Infinite Abyss.
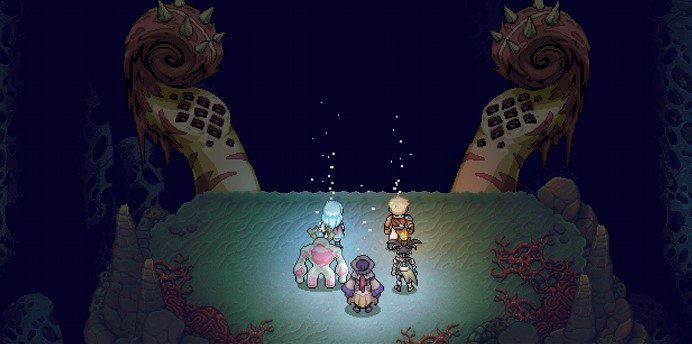
Boss Fight – The Dweller Of Dread |
||
|
Well, here we are. We’re finally tackling this big behemoth we’ve been seeing snippets of across the previous hours of the game. This fight comes in several phases, with the last phase notably the toughest. Phase 1You’ll find yourself on a platform that’s constantly descending, with two tentacles either side. Each tentacle has around 1000HP and physical attacks won’t do a whole lot of damage. Instead, what we want to do is use Valere’s Moonerang to hit both tentacles. It’s also worth mixing things up with standard physical attacks to keep your MP replenished. A charged Sunball will deal a good chunk of damage, as well charged physical attacks too. When one of the tentacles is down, use this time to make sure your MP is fully stocked for all characters by hitting the tentacle with physical attacks. When they’re at a good level, use a fully charged physical attack from Zale or Valere to take the other tentacle down. Phase 2The second phase of this fight will essentially repeat the same process as Phase 1. Two tentacles, and they’ll use the same Slam attack and Spiked strike too. This time though they do hit a bit quicker. Simply follow the same process as before and do not use Combo Attacks or Ultimate attacks for either of these phases. Phase 3The platform will eventually drop and the main bulk of the Dweller of Dread will show up, alongside two curled tentacles.
This stage of the fight will see things ramp up quite drastically. We’ve got two tentacles to take out, as well as the actual Dweller of Dread. He’ll wind up a couple of big attacks, including Dread Stare, which will send Valere off to fight Zale. Thankfully no damage will be done to Zale while we fight in this dark arena, but again, be sure to just use physical attacks to preserve your MP. If that wasn’t enough, the tentacles this time around pose a particular problem. On top of the Slam attack and hitting with spikes, there’s also Chomp, where a character will be snapped up and swallowed by Dweller of Dread. They’ll then be spat back out, which deals a good chunk of damage. There’s also a variation of that too, where Dweller of Dread will lean forward and consume everyone, striking with his mouth for waves of damage. In terms of tactics, you want to use all your heavy-hitting attacks here, and use charged physical attacks to take out the tentacles. X-Strike Combo is a great choice here that deals a decent amount of damage, while Valere’s Moonerang is also an excellent choice. B’st is best used as a tank here to soak up damage or for knocking down locks, but in terms of attacks, he’s probably not the best choice in this fight. Keep hitting Dread with charged attacks and if you can pop off an Ultimate attack, it’ll deal serious damage. This isn’t too challenging though. Be careful of Chomp, which is the worst attack here. Eventually though, the Dweller of Dread will go down. |
||
| Rewards: | ||
| One less problem to deal with | ||


With the Dweller defeated, the moon will rise up out the ground and, more importantly, you’ll unlock flying around the map. Zale and Valere’s true potential have been unveiled and we can now access previously inaccessible areas too. For the sake of this walkthrough, we’ll save all that for a separate article tackling the “True Ending”.
When you’re ready though, it’s onto the final dungeon and boss fights of the game at Fleshmancer’s Lair.
<< Sky Base |
Fleshmancer’s Lair >> |
You can check out our full walkthrough and game guide here! |
|