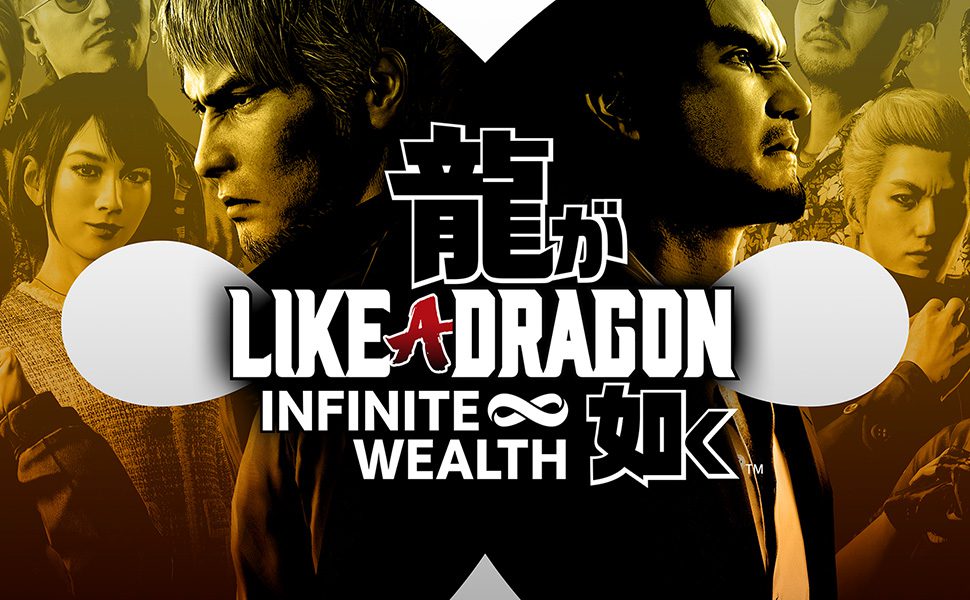
Like A Dragon Infinite Wealth Guide: Chapter 3
Area List (Tap to jump down the page!) |
||
The Fool |
||
Substory 5 |
||
Substories 3 & 4 |
||
Roman (Boss Fight) |
The Fool
Chapter 3 of Infinite Wealth jumps forward in time. Ichiban is in the police station, under charges of wandering around naked on the beach. Ichiban claims he’s been assaulted and robbed, and it’s all her fault.
Cut back to the previous day and Kasuga Ichiban meets someone who certainly doesn’t look like his mother. No, instead this woman is Akane’s helper, someone who does the shopping and helps out around the house. She’s studying abroad and her name is Chitose.

Chitose suggests he hang about and stay the night as Akane won’t be back until the following day. Unfortunately, the drinks he knocks back happen to be spiked. Uh oh!
Naturally, Ichiban wakes up on the beach and that’s where the amusing trailer we got earlier in 2023 comes from. Ichiban ends up butt naked on the beach.

This catches us up to the events right now, as this crooked cop is ready to bury Ichiban and frame him for other bad crimes around town. He even goads Ichiban into striking him too, which he obviously doesn’t do… until he finds an opportune moment of course. With handcuffs on, Kasuga starts running. And when you gain control of Ichiban, be sure to run down the streets away from the cops.

There will be a few QTEs if you end up running into the path of the cop cars, but largely you’ll be shepherded into a direct route through the streets and to the docks.
There, you’ll end up face to face with Kiryu-san, who will help free you from your handcuffs. It’s actually quite lucky that he’s there, he’s been on a job in Hawaii. He’s there to do the Daidojo’s dirty work, in exchange for keeping his identity (and the fact that he’s officially dead) a secret.

Ichiban is certainly up for tagging along, deciding they could make a good team together. However, he needs to find the thief and Akane’s house is as good a place as any to start.
With Kazuma Kiryu part of your party, head along toward Revolve Bar, which is marked on your map.
Kiryu and Ichiban will show up at the club and, naturally, you’ll need to take them out. Thankfully, they’re not too tough to beat. It’ll also give you a chance to practice using Kiyu, who has three different melee styles. Practice switching these up in the fight, and when you win, you’ll gain 156x Experience, 144 Job Experience, 3x Ice Fragments, 3x Lava Fragments and $150.
Go and kit yourself out at the Souvenir Shop across the road, being sure to definitely pick up Beach Sandals as they’ll improve your stats a decent amount.

When you ain control of Ichiban, head over to Kiryu at the bar and select “I’d be honored!” to continue the story. In doing so, this will also grow your bond with Kiryu too. Growing your Friendship bond is important for battling, and the higher the bond, the more you’ll strengthen your team in battle.
After drinking a bit too much, you’ll now be able to hang out at Revolve Bar, which is our new hangout spot, just like Survive was.
Substory 5
Substory 5 |
||
|
This latest Substory now introduces us to Timed Responses. A woman will approach and ask you to make a selection. Choose “Aloha” to boost Ichiban’s Charisma by +20 points. Selecting either “Um, lovely day today, hm?” or “….” will make no difference to your stats.
Once this is done, the woman will introduce herself as Kei. She’ll introduce you to Aloha Links, which is a community app in Hawaii. Now, anyone with a smiling face over their head can become Friends with Ichiban. The friend gauge serves as an indicator as to how well that bond is growing over time. Once it’s maxed out, you and your friend will become best friends! It also has a knock-on effect of helping your personality stats grow too, so it’s definitely worth doing. You’ll automatically become friends with the Bartender and Kei after this and it’ll complete the Substory. |

With the Substory done, feel free to say hey to a bunch of people out in the street if you wish but make your way up to Seaside Avenue. Interact with the black car and select “Let’s Go” to continue the story.

When you arrive at Akane’s place, it turns out Kiryu is also on a mission…to find and detain Akane-san. The Daidojo sent him to take care of her. However, it’s Yamai who shows up outside with the Crooked Taxi Driver. However, his hands are shaking and Ichiban knows he won’t fire. In fact, our protagonist wants to help him and offers Tomizawa a way out from Yamai’s stranglehold. He seriously considers it… until Yamai shows up with back-up.
The fight against Yamai’s goons is relatively straightforward and Tomizawa will be there as well to even up the score, although his attacks are pretty weak compared to Ichiban and Kiryu’s. Just like efore, try to group up all the goons so your attacks hit more than one target. Otherwise this is quite straightforward. As a reward, you’ll gain 104 Experience, 96 Job Experience +1 Bond, some gear and also $40.

The gang will escape to Little Japan from Yamai, but the latter will be chuffed to having found the Dragon. Tomizawa will join the party from here on out but our first port of call is to head for Kiryu’s hotel. On the way, be sure to pick up the strange glowing paper on the floor, which happens to be called “Best Fortune“. This is a blessing and if you take it to Kamulop at the shrine, you can exchange it for 4 fortune points. Bonus! But wait, there’s Kamulop! Another familiar face from Like A Dragon, and he’s back. He wants Ichiban’s help in gathering up these paper fortunes and in exchange, he’ll be able to win some prizes.

On the way to your next waypoint, Tomizawa will introduce new types of enemies, ones that serve as sort of mini boss fights. These guys are special enemies that happen to be a lot tougher than regular enemies. However, they could also be hiding secret areas too, there’s an incentive to try and take them out.
For now though, head over to the hotel and chase the pickpocket. As you do, you’ll need to complete the QTEs along the street, hitting the right buttons to track down the pick-pocket.

Once you retrieve your gear back, the gang will discuss what’s recently been going down in town. It would seem that Chitose is the key here and she could well have sold Ichiban’s passport to a contact called Jeff. However, we’ll also learn that Hawaii has its own hodgepodge of gangs here, including the Barracudas, who are a bit pot of different cultures blended up into one.
Head into the alley when you gain control of Ichiban, which should be easy to find as it’s directly ahead.

Unfortunately, there’s a pretty gnarly scene in the alleyway, and Kiryu will recommend that the group scarper, especially after seeing the message they’ve left. Tomizawa will warn that starting a fight with these Barracudas will not end well. So for now, it’s best not to poke the hornet’s nest.
Instead, it’s time to find the Taco truck.

Make sure during this time of wandering up the street that you periodically say hey to people. It’ll fill out your Aloha Links rather quickly and you really don’t need to do too much beyond saying hey to strangers. When you’re ready, approach Jeff’s Taco truck (pictured above).
Unfortunately, we need 30 bucks in order to get anything from him.
Substory 4
Substory 4 |
||
|
Before we continue, we’ll also get Substory 4. It turns out Chitose is… an escort? Kiryu has his reservations but Kasuga is, naturally, very positive about the whole thing.
Wait… is that Chitose? Nope, it’s a completely different Chitose, naturally! She’s from Pound Mates, which you may remember from Like A Dragon. She’ll help fight for Ichiban, and be another of our recruiting Summons we can bring in to destroy enemies in a jiffy – for a price of course. Thankfully the first round is free so summon here in the fight ahead to see hat she’s capable of. After a brief fight to show off her powers, Substory 4 will end. |

Now it’s time to make some cash. First up, head over to Aloha Beach. When you show up, Tomizawa will confirm that there are some Delivery Jobs that can be completed. And lo and behold, it’s time to start Substory 3!
Substory 3 |
||
|
As part of this Substory, it’s time for a race. You’ll need to deliver food faster than Charlie, the delivery driver. For those that played Like A Dragon, this story is very similar to the Garbage collecting minigame where you ride around collecting cans.
This time though, you’ll need to get hamburgers and pizza! On the way though, you’ll need to pull off some tricks on your bike to hit the cash bonus marks and score big. Honestly, this minigame is super fun and if you pull off some tricks and collect tons of food, you should make an A rank, if not an S rank. As a reward, you’ll get $30. Hey, that’s just what we need! |

With the Substory done, Charlie will be available as a Pound Mate. For now, head back to Jeff’s Taco truck and with the bribe, Jeff will confirm that yes, a Japanese lady did have a passport…but she wanted it to get into District Five, which is Barracuda territory. You have to bring them a stolen passport in order to get in as their main trade is a fake passport run. So I guess we know where we’re going next, right?

Tomizawa will reiterate this isn’t a good idea and spill his history, including an awful run-in with the Barracudas and how they’re in league with the cops. Ichiban and Kiryu will listen to everything and decide they need to find a guy called Roman. Tomizawa will also decide to tag along too.

Now, it’s worth noting here that the place is crawling with goons so you want to make sure you’re stocked up with healing items for HP and MP, spare food and kitted out with good equipment from the clothing store too before tackling this part.
When you’re ready, head for Diamond Edge and fight the goons out front. After, head inside and speak to Roman at the bar.
Roman
Boss Fight – Roman |
||
|
Unfortunately, things won’t end well and with Roman pointing a gun at them, it’s time for a big bar brawl. This brawl will be with a fair few goons and fronted by Roman himself, who serves as this chapter’s Boss. A good idea is to use Ichiban’s “Grand Liner” right off the bat (no pun intended) as it’ll knock out a lot of the enemies in one fell swoop.
Roman is also weak to Battery Shock, so be sure to use this against him every time you control Tomizawa. As for Kiryu, his beefy HP will help along with his stiff punches to take out a good chunk of the goons, even if Tomizawa ends up being knocked out. Once again, keep using skills that will damage more than one enemy (especially with Ichiban). As for Roman, he has a few different moves, including Peacekeeper, which will do a good chunk of damage and also improve his accuracy too. The fight itself shouldn’t be too difficult, especially if you take out a lot of the other goons first and then focus on Roman after. As a reward, you’ll gain 546 Experience, 495 Job Experience +10 Bond and £260. |

With Roman down, he agrees to help wipe Ichiban’s record and also gain them access to District Five too. He promises to get them past the gate but the rest? That’s up to them.

After the bar brawl, follow the marker back to the hotel again. The gang will drink to their small victory and prepare for shaping their futures together. Tomizawa, in particular, is definitely warming to the group and we even have a nickname for him now too, Tomi! Kiryu will chime in with his own words of wisdom and confirm something pretty shocking. He’s got cancer, and he’s only got half a year left to live.
<< Chapter 2 |
Chapter 4 >> |
You can check out our full walkthrough and game guide here! |
|