
Lies of P Guide – St Frangelico Cathedral Chapel/Library
Mission List (Tap to jump down the page!) |
||
St Frangelico Cathedral Chapel |
||
Infected Mini-Boss |
||
St. Frangelico Cathedral Library |
||
Fallen Archbishop Andreus (Boss) |
St Frangelico Cathedral Chapel
From the repaired Stargazer, head up the stairs to the left and at the top, you’ll notice a rather grotesque looking monster by a massive hole in the floor. Yep, that’s where we’re going. And yes, that will be a horrible boss later on! Don’t jump down this gap to your death!
For now though, take a right at the top of the stairs. Grab the Stained Choir Sheet Music from the organ playing and proceed down the ramp.

Continue along the passageway and pick up 1x Vivid Ergo Fragment to the left of the ladder. Finally, head down the ladder. In this new area you’ll find a much larger chamber, full of decayed water and enemies. This is a pretty cool level in all truth, but it’s also one we’re going to have to vertically navigate. For that reason, you need to be careful and keep your balance as you can easily fall to your death here.

For now, ignore the passage leading off to the right, we’ll be returning back here later and right now there’s nothing of use. Instead, run across the water and kill the 3 infected puppets that chase you. Head up the next ladder and you’ll notice a large brute waiting on the other side of the wooden platforms.
This guy looks worse than it is, but it’ll spit Decayed projectiles at you and has a few big melee strikes. The idea here is to hold your guard as you cross the beams (or dodge-roll forward if you’re confident you won’t fall) while also taking out the puppets.
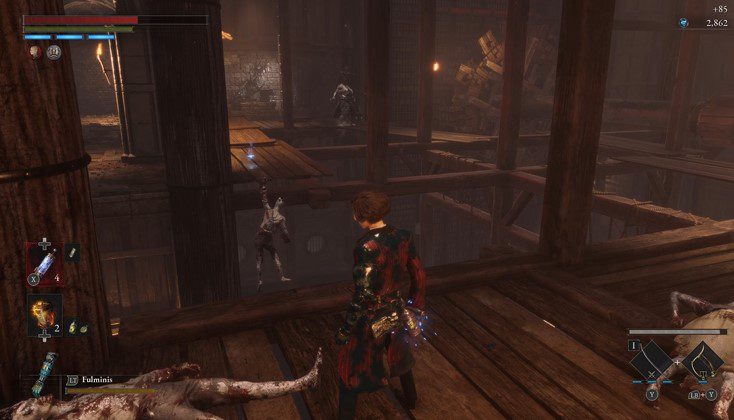
A good idea is to goad the smaller infected into fighting you by the ladder, by walking forward and dodging back to attract their attention. That way you’ll be alone with the big brute. Once it’s defeated, climb the next ladder and immediately take a left.
You’ll notice and a lamp and a whole bunch of boxes. Hug the right wall and dodge roll forward to break the boxes and drop to a lower level. There, you’ll be able to pick up 1x Hidden Moonstone and 1x Radiant Ergo Fragment.

In terms of returning to the other platform, you’ll need to dash forward and press the left analog stick in to jump. This is something we’ll be using more later in this level!
From the second ladder we climbed, balance over the beam, being sure to hold your guard as there’s another projectile-spitting brute ahead. We also need to time our run over the next beam (to the right) so we’re not stuck on the cogs. Once you’ve done that, kill the brute and the smaller infected on the next platform, being careful not to fall.
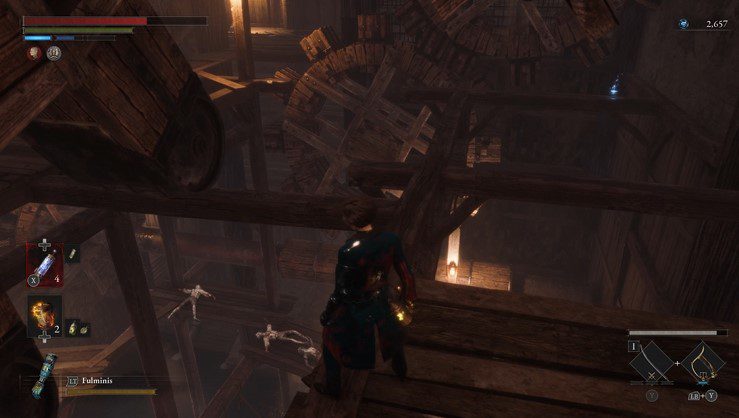
Keep moving to the other side of the room and kill the next brute, again beign careful to hold your guard as you do. Next, balance over the beams away from this platform (pictured above) to collect 1x Star Fragment.
Climb down the next ladder and we’ll be in another chamber, this one with a horrible electric ball rolling down. It’s not initially clear what we need to do here and admittedly, we did die a few times here figuring it out. You don’t need to hop down the gap to the right, presumably to a lower chamber, nor do you need to hit the balls.
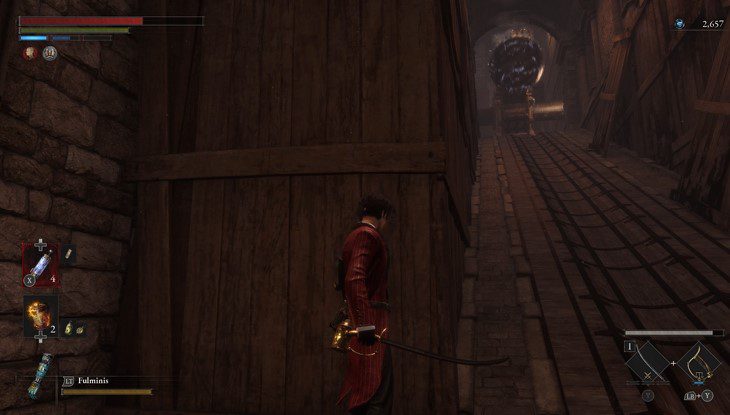
Instead, wait for the electric ball to run down the ramp and immediately rush up the gap, hugging the left wall and scrambling to the higher platform. Be careful though as there’s another infected puppet up here.
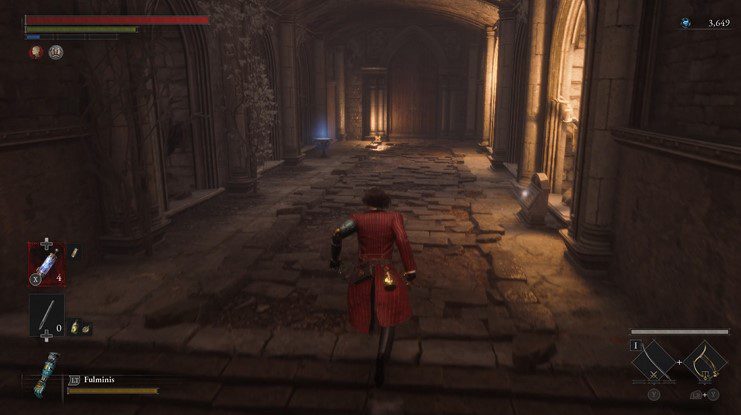
At the end of the passageway, turn left and kill the next infected puppet that shows up. Follow the path along and you’ll find yourself in a larger chamber, this one with writing on the wall informing us that the Archbishop is dead. There’s also a fair few infected puppets in here, includign another projectile brute by the doorway.

Once they’re dead, head up the stairs and collect 1x Dim Ergo Fragment. At the end of this long hallway, you’ll find a larger chamber and some platforming sections. This is where we need to put our jujmp to good use!
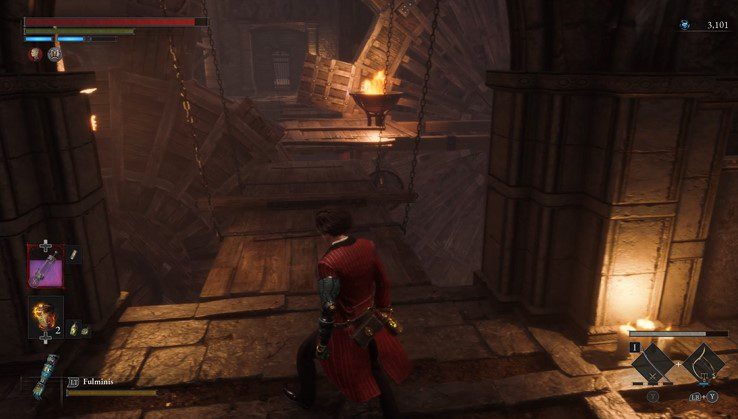
Jump over the first gap, but before jumping the second, bhe sure to push the fire goblet down, as it’ll clear the decayed water on the ground floor. Jump the next gap and immediaely take a right and pull the lever at the end of the hallway. (You can also grab 1x Legion Magazine nestled by the little stairwell too)

Remember that earlier passage that didn’t seem to go anywhere with the platforms falling down? Well, that section will now link to this area. We’ll be able to bypass large chunks of platforming now as the platforms have been reversed and are heading up instead of down.
Return to the section you just jumped over the cogs to but don’t walk through rthe iron doors just yet. Instead, climb the ladder and grab 1x Crescent Moonstone from the edge of the balcony.
When you’re ready, head through the iron door and prepare for a mini-boss fight.
Infected Mini-Boss
Mini Boss – Captain Infected |
||
|
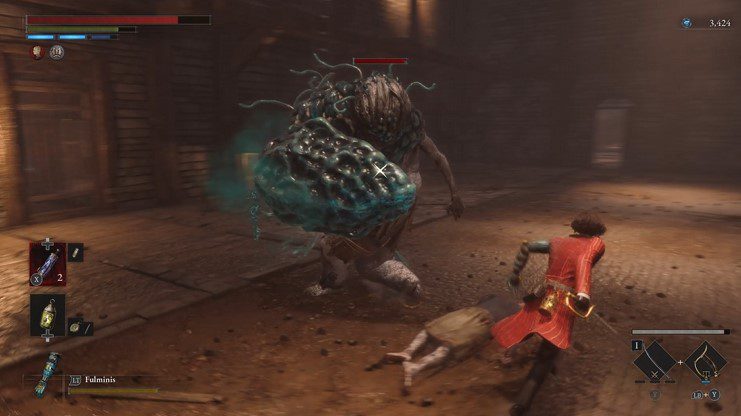
Okay so this guy isn’t really called Captain Infected but some of these guys don’t have names so it seems like an apt title! There are two areas here, a higher balcony section and a much larger lower arena. There are actually a few different strategies you can take with this one, and if you’re having trouble there is a bit of a cheating workaround too which we’ll discuss at the bottom of this guide. For now, Infected plays out like a more beefed up version of the Shield Guardian in the Workshop Union level. It’ll circle around, changing up its arm to either a shield to block physical attacks, or a large ball to slam down in front. Naturally, we need to be patient and wait for the ball, dodge it when it drops to the ground, slash a few times and back up. Captain Infected also has a shoulder-barge forward, which is wise to parry, as it’s followed up with a slam down with that shield that can easily break your guard. Watch out though as it also has a Fury Attack where it’ll slam forward with the shield as well. Furthermore, it has a spinning 360 degree attack where it’ll swing the balled hand around. The Infected has a lot of health and you could be here a while. However, if you have some Thermite in your possession, now is an exellent time to use it. Climb up the ladder and hit Infected with a couple, it’ll easily knock down half its health. If you also manage to burn it, that’s a bonus as any strikes you inflict will do extra damage,
If you’re really struggling with this one though, there is a bit of a cheat. You’ll notice the iron door is still open (pictured above) and although this will prolong the fight considerably, you can get a cheap win here without losing too much health. Walk into the room, wait for the boss to come at you and stand just in front of the doorway. Let Captain Infected rush at you with its shield and back up out the door It won’t follow but it can still hit you with its balled fist if you’re too close. It’ll get bored after a few seconds, turn its back and return to the middle of the arena.
This is a perfect opportunity to rush in, slash with a strong attack and then dodge back twice (don’t dodge-roll, its ball fist will reach you) out the door. Rinse and repeat. This is a very time consuming way of beating the boss but actually very effective strategy. Eventually it’ll go down. |
||
| Rewards: | ||
| 1x Quartz | 1734 Eergo | |


With Captain Infected downed, head through the iron gate that’s now opened and move into the cell. From the chest, grab 1x Krat Supply Box. Move forward to the elevator and flip the lever. When you emerge, we’ll be in a new area.
St. Frangelico Cathedral Library
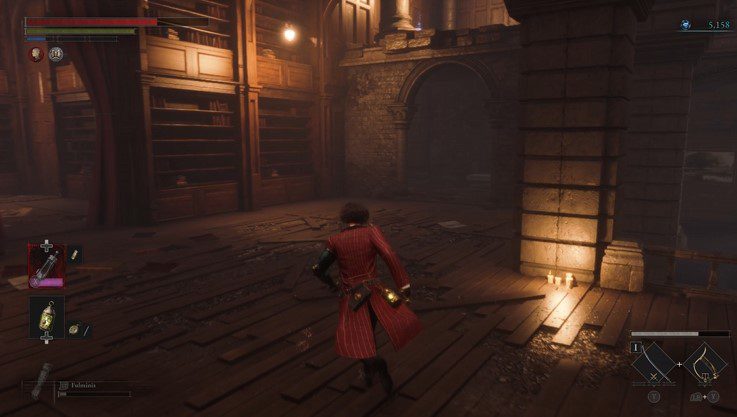
From the elevator, head forward and repair the stargazer. Right of this, pick up 1x Thermite. When you’re ready, head to the left and through into the next chamber.
Be careful of the traps on the way, so be sure to hug the right wall in this passage before emerging into a dank tunnel. There are a few gaps that lead to a lower lever (which we’ll get to shortly) and a whole bunch of infected with strange infected bulbs hanging from the ceiling. If you pass under these, they will fall and can inflict a good deal of Decay damage. At the end of the passage though, collect up 1x Attribute Resistance Ampoule.
At the end of the next hallway, turn a corner and watch out for the infected puppet. Defeat this and then slash out and kill the big brute on the bridge. On the other side, be sure to pick up 1x Fable Catalyst.
Down the stairs and in the next larger area, collect 1x Crescent Moonstone from next to the table.

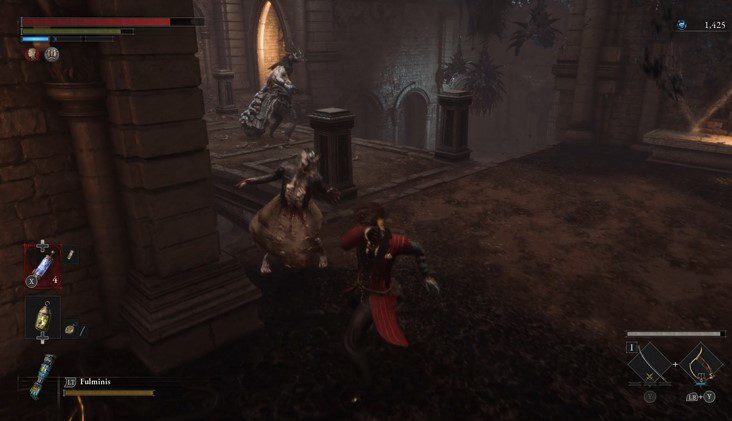
Face the water and you’ll notice a looming boss area in the distance. Ignore this for now and take a hard left, being sure to kill the infected here outside the water by goading them to your location. From here, dash into the next chamber, pick up 1x Vivid Ergo Fragment from the pedestal and climb the next staircase.
Be careful here as there will be another big brute akin to the one from the bridge outside the cathedral.

For this guy, be sure to use a combination of dodging and parrying, using the larger arena to heal up and guard against its vicious strikes. Watch out for its Fury Attack too, and take your time with this one as you might die a few times! When it’s defeated, you’ll be rewarded with 1x Star Fragment and 1x Acid Abrasive.
From here, there are two paths forward. One leads up to the rooftop and a special vendor that will sell you unique weapons via an elevator. He’ll only deal with special Eergo collected from defeating bosses, and you may have noticed this in your inventory beforehand.
It’s not essential to travel up here but the view is pretty breathtaking and we’ll also meet Alidoro here. We’ll get a chance to tell the truth or lie, depending on where we claim is a safe haven, and he has some unique weapons and amulets to sell as well.

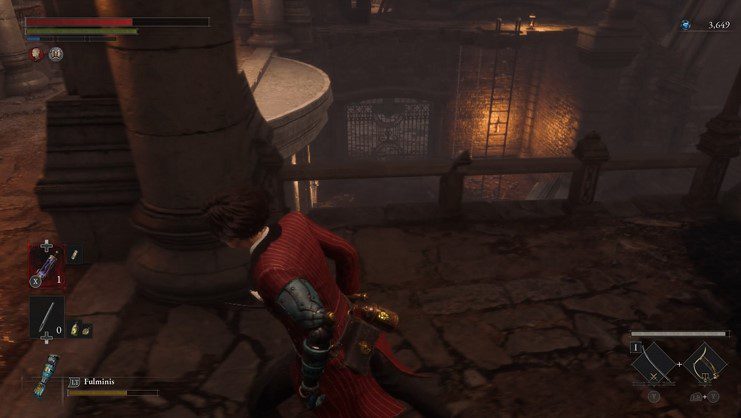
However, our actual destination is to the right of this, up a winding staircase. Watch out for the infected that’ll pop out and grab 1x Vivid Ergo Fragment from the left of the stairs. In the next area, you’ll notice a few of the balcony fences are destroyed.

We can actually climb down here and collect 1x Gemini’s Emergency Protection.
When you’re ready, walk round to the other side of the chamber and collect Archbishop’s Diary which explains more of his backstory and it’s pretty interesting too. In the Archbishop’s office, collect Archbishop’s Holy Mark from the ground and open the safe to collect Workshop Union Strengthening Frame.
In the adjacent chamber, push over the fire goblet to get rid of the Decayed water, and be sure to grab 1x Special Resistance Ampoule too just next to the doorway.
Circle around and instead of climbing down the ladder, dodge-roll through the wooden barrels and barriers, to reveal a secret area. You can also collect 1x Fable Catalyst here. Do not jump down to the Stargazer. Instead, circle back and climb down the ladder.
Grab 1x Resplendent Ergo Fragment from the stone to the left and activate the pulley to open the gate and link back up to the original Stargazer. It’s a good idea to actually use the Stargazer here, rest up and prepare yourself as we’ve got a big boss ahead.
At this point, don’t use the Specter. Not yet anyway. For most of these bosses, you want to get used to the attack patterns and when you’re confident you know how a lot of the moves work, call the Specter. Of course, you can always go it alone until the end but before we jump in, it’s worth noting that is a two phase fight and we could be here for a while!
Fallen Archbishop Andreus
Boss Fight – Fallen Archbishop Andreus |
||
|
Phase 1The Fallen Archbishop is a tough foe and it has some nasty attacks at its disposal. It tends to use its tongue to slam down and swipe from left to right, inflicting Decay damage the entire time. There are also several melee combos to watch out for. There’s a three-strike hit, where it’ll swipe with one claw, pull back and slam down with the other, and then hit round from the side again. You can actually get around this move by dodging the second claw and dashing behind the Archbishop to deal some damage. If you’re too far away though, it’ll ram forward with both claws and hit the ground. There are also simple slashes to contend with, and a Fury Attack where it’ll rise up in the air and slam back down. You can definitely get a good few hits in after it slams to the ground here. The trick with this fight is to try and hit from behind, whilst also learning the melee strike combos so you save up as many Pulse Cells as possible for the second round. This is where the Specter comes in handy, but you want to try and keep him active until the second phase if you can. The two windows of attack though are just after the Fury Attack and at the end of the three-hit combo. After it slams the claw down from high up, dodge-roll toward the other claw to get round it and then hit from behind.
It’s also a good idea in this phase to use Fulminis to whittle down that health quickly. It’ll inflict big damage when Archbishop is shocked, and given the windows between strikes (at the times mentioned above) it’s actually quite an effective tool. It can also be staggered too, where you’ll be able to get a couple of free hits in as it’s idle on the ground. Likewise, if you’re using the specter, wait for the attention to turn to him and exhaust your Fulminis, following up with strong attacks to get that health down. Phase 2Once you’ve depleted the health, Archbishop will return with a much more menacing form. There will now be two targets to choose from, with the Archbishop on one side, and that horrible monster head on the other. You want to target the same monster head as before, using similar tactics. This time though the attacks are far more aggressive, and there’s a new variation to the Fury Attack as well. If you choose to tackle the Archbishop’s face, there’s a new move-set to learn, along with various slashes and nasty strikes that can deal big damage. For this reason, it’s advisable not to target this and go for the devil we know instead! Target the rear-head instead. Once it’s down to 50% health, Archbishop’s aggression will rise and even worse, it’ll start using a large energy beam attack. Similar to King’s Flame, you want to back up and make sure you’re out the way when it strikes. The Archbishop’s face will also deal damage here, hitting a blastwave that extends out. There is a small window of opportunity to attack but honestly, it’s not worth it unless it only has a tiny sliver of health left. A good tactic is to use your Acid Abrasive Switch or Fire Abrasive Switch if you make it to the second phase. This, coupled with a few Thermite blows, will deal big damage and help you out tremendously. In terms of weapons, it’s a good idea to use whatever you’re comfortable with but greatswords and large blunt weapons do work quite well here given the windows of time between attacks. Be sure to draw on the Specter once you get the hang of Archbishops attacks, saving as many Pulse Cells as you can for Phase 2. Be ready to hit it with everything you have, being sure to target the hind face and not Archbishop’s new form in the second phase. Eventually it’ll go down, netting you some rewards and a neat cutscene too. |
||
| Rewards: | ||
|
1x Twisted Angel’s Ergo |
||


Once the Fallen Archbishop is down, repair the Stargazer and return to Hotel Krat to rest up and prepare for the next phase.
<< Moonlight Town |
Path of the Pilgrim >> |
You can check out our full walkthrough and game guide here! |
|