
Lies of P Guide – Relic of Trismegistus
Mission List (Tap to jump down the page!) |
||
Hotel Krat |
||
Relic of Trismegistus Entrance |
||
Sealed Underground |
||
The Black Rabbit Brotherhood (Boss) |
Hotel Krat
When you push open the doors to the Hotel, you’ll find the place has been trashed. From your starting position, head to Sophia and you’ll learn the Geppetto has been kidnapped by the Black Rabbit Brotherhood.

Next, activate the Stargazer in the hotel again and speak to Antonia. She’s not where she usually is though, so head up the stairs and toward Geppetto’s room. You’ll find everyone inside. Antonia is at the back and she’ll tell you that there’s a secret passageway leading to the hideout.
Before you get there, speak to Venigni and he’ll give you a new Taunt, Anger, and hand over 1x Gooden lead-acid battery. Head back to the ground floor and interact with the piano just in front of the portrait. Select “Play a certain scale” and the picture will open up and we’ll be on our way.
With the way forward now opened, head down the lift and into this next area.
Relic of Trismegistus Entrance
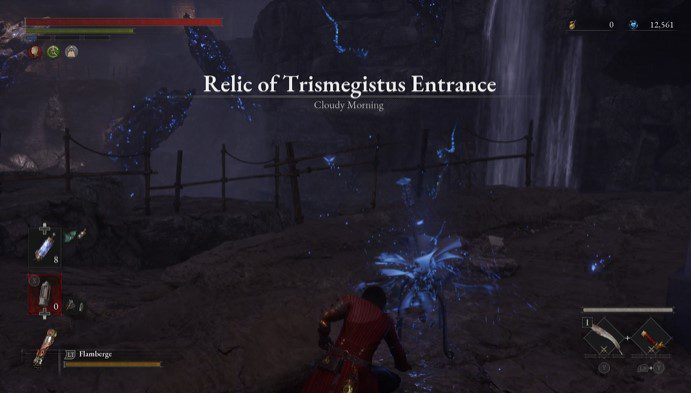
It;s worth noting at this point that you no longer need to teleport back to the hotel to level up, we can actually do it right here at each Stargazer, which is super handy.
Just behind the Stargazer, you’ll find 1x Dark moon Moonstone of the Covenant. Drop down the ledge and head through the cave to the other side, where we’ll enter a much larger underground area.
Sealed Underground
There are two butterflies just below the steps, so destroy these and grab 1x Full Moon Moonstone of the Covenant and 1x Half Moonstone. There’s also 1x Technique Crank just by the edge of the platform. Turn around from this location and head all the way to the back of the cave, where you’ll find a route up to a higher area.

Up here, there’s a puppet but also a switch on the ground that will set off a whole bunch of fireballs. Try to avoid this if you can. Ignore the route to the right through breakable boxes, the only thing here is another puppet waiting in ambush inside more boxes on the far end.
Instead, grab 1x Dark moon Moonstone of the Covenant behind another switch on the ground and just next to that, on the edge of the platform at the back, you’ll find 1x Star Fragment.
Now, head back to where you destroyed the butterflies and head down to the lower level. A lanky puppet will burst out the rock arch and begin swinging wildly at you. It’s weak to electric and basically requires the same strategy as the one from the Grand Exhibition. Take it out and open the chest just to the right of its entry point to find 1x Cursed Knight’s Halberd Blade and 1x Cursed Knight’s Halberd Handle.
From the archway it burst out from, head down and take the path up to the left. You’ll find another phone up here and, hopefully, another riddley!
Once that’s done, drop down to ledge below and try to get a jumping attack on one of the rake puppets. Take the other out and proceed across the bridge. Watch out as there’s another waiting in ambush on the other side. Oh, and there’s a switch on the ground too.
After getting past this, grab 1x Vivid Ergo Crystal. There are a few different ledges down here that all lead to the same destination. However, the chances are you’re probably going to die a few times so there’s not much danger in missing anything. There is a ladder to head back up if, by some miracle, you beat the next boss in one go.


A) Just to the right of the Vivid Crystal. Drop down the ledge and pick up 1x Half Moonstone.
B) To the left of the Vivid Crystal, circle around and run/jump over to grab 1x Half Moonstone.
C) Accessible on the previous path that branched up to the phone and down to the rake puppets. Drop down and collect 1x Fable Catalyst.
On this lower level, regardless of how you got here, you’ll find a dog infected, a larger infected brute with tentacles flailing about (which will net you 1x Star Fragment after killing it) and a chest holding 1x Legion Caliber.
There’s a ladder in the middle of the room leading back to that aforementioned bridge, where you can grab the other collectibles, and another passage, just hidden in the rocks leading up to a big boss fight.

The Black Rabbit Brotherhood
Boss Fight – The Black Rabbit Brotherhood |
||
|
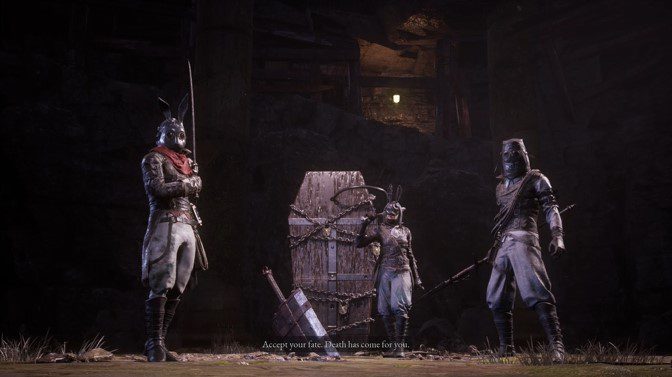
Here we go then, The Black Rabbit Brotherhood are now here for the taking. It’s time to finish these guys once and for all. Unfortunately, this fight now sees all three of the siblings together at once. It’s a 3 on 1 fight and the odds are firmly stacked against you. You can even the odds a little by getting the Specter involved, but the trick (especially when you’re on your own) is to constantly keep your focus on the dominant sibling. Each of the gang will take it in turns to come for you, evidenced by their little audio cue and setting their weapon up with a different state. The Youngest will inflict Decay, Eccentric will do Electric Shock and Battle Maniac will do fire. The fights and the move-sets are identical to that from Malum District, so getting behind for Rear Strikes is a good choice, especially with a Specter in play. The Siblings of the Brotherhood StrategyThe individual strategies still apply here and first off, you want to target the Youngest. Regardless of who’s the dominant sibling, she’s the worst in terms of speed and annoying abilities. She’ll easily throw you off your game if you’re targetting the other two, with her Fury Attack cutting through from afar. You can use the Puppet String yo-yo trick here to make life easier (equip Puppet String Legion Arm, target her, use it and slash, then when she backs up, use the Legion Arm and slash again) or you can simply dodge her moves and try to hit rear Fatal Strikes. Youngest will go down quite quickly using this method, and as for the other two siblings, you want to now take your time and switch focus to whoever is dominant. If Eccentric (pike-wielder) is dominant, he’ll have very similar moves but watch out when he sets up the spear with electricity. That is very difficult to dodge and Electric Shock damage can be a pain in this fight. When Battle Maniac is dominant, you want to parry like normal but this time, mix it up with dodges back. Eccentric tends to throw bombs at you so you want to avoid getting hit with these as much as possible if you can. The idea here is to make sure both brothers have an equal amount of HP as the battle wears on. You do not want to solely target one and keep the other with full health, tgat is a recipe for disaster. Once the two brothers have a minimal amount of health left, try and take them out as quickly as possible. Why? Well, the Eldest will join the fight when there’s only one Black Rabbit remaining, and you want it to be a 1 Vs 1 (or 2 Vs 1 if your Specter has somehow survived until now). Eldest Strategy
The Eldest this time around is just as aggressive, and it has some punishing combos. There are a couple of new moves, including a wild variation of its previous slash combos, which have around six or seven strikes, and a new Shockwave move that will see it conjure up blue jets of fire and throw them out at your location. The best, and easiest, strategy here is to head for one of the two marked areas on the screenshot above. Either the trashbags or the pillar. The idea here is to use this and keep circling around so Eldest gets stuck during his combos and can’t progress near to you. The spinning sword strike and the long sword combos work an absolute treat here, and will allow you to strike easily without retaliation. Flamberge is also excellent in this fight if you choose to run round the trash bags. If you’ve saved that and not used the Puppet String trick, you can actually burn Eldest during its combo and if you manage to inflict burn, adding that to a couple of Thermites and a Flame Blitz, will make short work of Eldest.
It may take a while for him to go down but given this was an unfair 4 Vs 1 fight, it’s only fair that we get some form of advantage here too! If you’re really struggling, use the same strategy as before and add Shot Puts and Saw Blades. The latter in particular is a great option and will eat away at its health if you throw four at once. Be warned though because Eldest will become more aggressive once tis down to 50% health or less. |
||
| Rewards: | ||
| 1x Quartz | ||


Relic of Trismegistus Combat Field
With the Brotherhood defeated, go and repair the Stargazer. Head all the way up the linear pathway that’s now been opened up and you’ll find Alidoro up there cowering. He’ll also tell you that you need to head off for the Alchemists’ Isle. Just behind him is a chest that holds 1x Great Venigni Collection.
Head down the stairs and collect up 1x Full Moonstone next to the sheet on the fence. Continue all the way until you reach a much larger area and great The Great Venigni and Pistris the Submarine collectible next to the barrels. There’s nothing else to see here so lift the lever and call on the submarine.
When it appears, the scene will cut and we’ll be onto our next and final area. Buckle up, because it’s a long one!
<< Collapsing Krat |
Arche Abbey Part 1 >> |
You can check out our full walkthrough and game guide here! |
|