Like A Dragon Infinite Wealth Guide: Chapter 13
Area List (Tap to jump down the page!) |
||
Promised Land |
||
District Five |
||
Head to the Docks |
||
Dwight w/ Sharks (Boss Fight) |
Promised Land
Chapter 13 begins with with the group trying to find the location of Nele Island. In fact, right now they won’t even let anyone near the coast for fear of giving up where it is. Ichiban suggests they head on down to the dock and find a cargo ship to stowaway on. And the biggest surprise here is Yamai, who’s come through as a pretty sound guy after all.
When you take control of Ichiban again, Goro, Taiga and Daigo will all now become available guests of Dondoko Island. Feel free to use those to boost up your star rating at the resort but as we’re focusing on the main story right now, let’s head on down to the marina.

Apparently there’s a suspicious boat there that shows up every 2 weeks or so… and wouldn’t you know it? It’s currently in dock now. Unfortunately, a fight breaks out with Palekana Zealots, given they’re all working around the dock. They’re not too difficult to fight so take them out and you’ll gain 28000 Experience, 25200 Job Experience, +1 Bond and $28000.
Another group of believers will show up just after, and this will likely be a recurrence now until Tomi suggests you take a shortcut through the alleyway and shopping district, back toa temple to hide out in.

After al these fights, Kasuga Ichiban believes that Lani may actually still be on the mainland and not over at Nele Island. This would explain the heightened security and the constant fights. Joongi shows up though and he’s got intel on a boat that will safe to stowaway on. It docks at Honolulu but it seems impossible to get in… or is it? Chitose recalls a passageway underground that could hold the ticket here.
Joongi will join the party but he’ll need some new threads. Head on over to Anaconda Shopping Center.
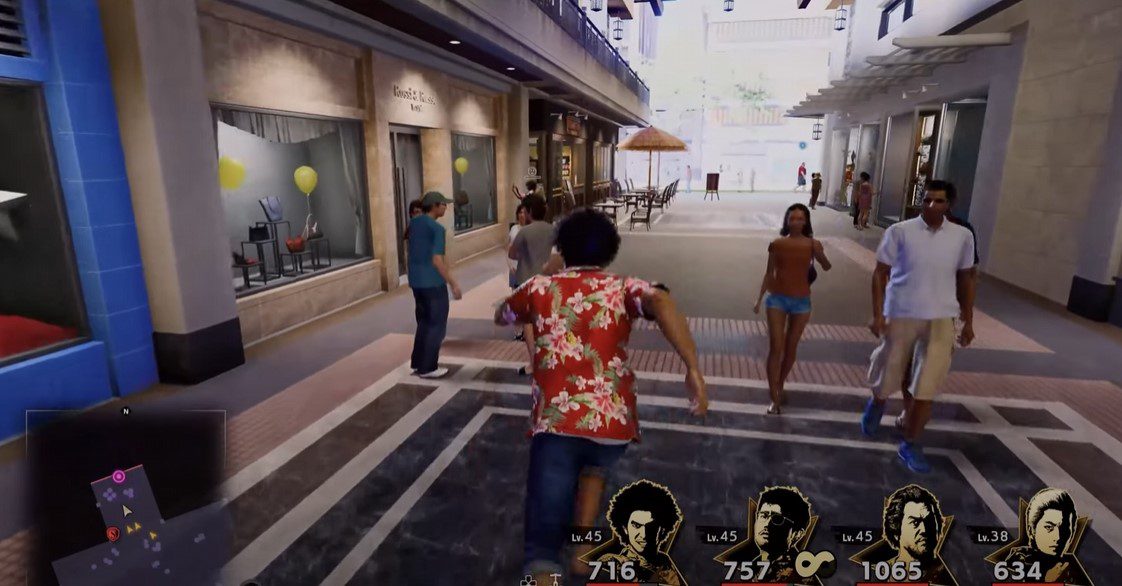
After a good shopping trip )which should also increase the Bond with all of your party) head on back to Revolve one more time. It’s a good idea at this point to wrap up anything you still need to do in town before getting to the final fight. The next chapter in particular is the finale and it’s rather long so make sure you’re fully equipped. Get the best equipment, buy plenty of food items, grenades and anything else you need, and then head on over to District Five.
It’s recommended at this point that you be at least Level 39. As long as you hit that criteria, select “Enter District Five” and let’s crack on.
District Five
When you enter District Five, you’ll have to fight the Barracuda goons all the way up to the Underground passage. On the way be sure to grab 1x Basketball from the ground. After resting up in the abandoned building, you’ll fall through the floor and face off against some goons.
Once these guys are defeated, climb up the ladder and at the T junction, be sure to take a right turn. There’s a Safe at the end holding 1x Pirate Boots. Turn back and head in the opposite direction, all the way to the end of the corridor. As you do, be sure to grab 1x Rainbow Crystal from the side.

Be sure to time your jump over the hole in the ground with a correct QTE and defeat the guards on the other side. There’s also 1x Safe Key here too. Now, it’s also worth noting that if you do fall down you’ll have another fight here but it will curl round to a ladder leading up to where we would have ended up had we not fallen.
Either way, you’ll need to climb up the blue ladder. At the top, grab 1x Italian Ring and 1x Pearl Earrings from the ground.
Now, head down the stairs and be sure to grab 1x Lustrous Steel next to the stack of boxes. In the kitchen you’ll find 1x Passionfruit and 1x Platinum Plate too.

Just outside here, behind the counter, be sure to grab 1x Toughness Z. There will be enemies to face just after this and then you’ll fall down through the floor and be faced with even more Barracuda goons.
Boss Fight – Samuel |
||
|
Samuel comes wielding a chainsaw and there are several Barracuda thugs either side of him. You want to take these guys out first and as they’re grouped up to begin with, be sure to hit a big splash damage move like Battery Storm or Essence of Ballroom Blitz.
As for Samuel, he tends to get himself fired up before attacking, and he’ll use a move called Unchainedsaw. This will deal a fair amount of damage and hit multiple times. He also uses Chainsaw where he’ll charge full-force into one of the group. Be sure to watch out for this and dodge round it if you can. After defeating him, you’ll gain 64050 Experience, 57645 Job Experience, +10 Bond and $80500. |

Just beyond this, head down the passageway and pick up 1x Veteran Detective’s Jacket from the Safe. When you’re ready, interact with the door and head on inside.
Head to the Docks
When you exit the Abandoned Building, you’ll be in an underground warehouse. Battle through the goons and you’ll eventually come to a dock where Dwight and his men are with Lani.
Boss Fight – Dwight |
||
|
It’s time to fight Dwight again and this time, he comes armed with some thugs. They’re not barrel-wielding this time, so there is that, but once again focus on taking these guys out first. Be sure to hit them with a big splash damage move and they’re weak against Electric too so use something like Battery Storm. As for Dwight, he’ll use his familiar attacks like Mutilator and Bonecutter. Both are prone to deal Bleed damage, so make sure you come prepared for that. At around 75% health or so, Dwight will use More on the way, and bring in extra Barracuda thugs to fight against him. Now, Dwight is actually weak to Fire-based attacks so Incendiary Grenades are a good shout. Unfortunately, Dwight will also start using Lanzagranadas! too, where he’ll bring in a gun and strike you with a nasty gunshot. Beyond that though, the fight should be relatively straightforward. As a reward, you’ll gain 74550 Experience, 67095 Job Experience, +10 Bond and $91000. |

With Dwight defeated and Lani brought back to the safehouse, Yamai of all people has decided that he can help them – and jet them back to Japan too. The plan here is for him to buy a tugboat and cart them all onboard. Then, out in the middle of the ocean, he’ll get them all home courtesy of Japan’s Coast Guard.

After confirming the plan, head back to Revolve. After resting, head all the way down to the opposite side of the map, tucked away in the bottom right corner.

When you hop aboard, trouble will be abound and who should show up but Dwight… again. Only, this time there are sharks swimming around the boat.
Dwight (Shark Attack)
Boss Fight – Dwight (Shark Attack) |
||
|
The fight this time around is on the back of a boat and it has some rather interesting mechanics at play. If any enemies get too close to the edge of the boat, extra damage will be dealt against them. Unfortunately, this also goes for your own teammates too, so you need to be careful not to get too close to the edge. Dwight will use all the same attacks as before, but he has a tendency to attack those closest to the edge to try and get the sharks to attack more.
Once again, Dwight is weak to Fire and Water so be sure to use both elemental attacks against him. Be wary of getting too close to the edge of the boat as well and if you can, position your characters so they’re as far away from the edge as you can, preferably not with your back to the sharks! When Dwight is defeated, you’ll gain 94500 Experience, 85050 Job Experience, +10 Bond and $112000. |

With Dwight swimming with the fishes (quite literally), the gang make it back to Japan. There, they’re greeted by Division One’ very own Makoto Date. Yamai even admits to murdering Tabata. Yamai was once Tojo Clan but he killed his patriarch and then fled overseas.

Yamai rushes off but Tomi believes he can bring him back. Ichiban is loyal too and wants to be by their side so he decides to team up. The group are going to split up, with one going after Yamai and the other hanging tight with Akane and prepping for the final fight. They’ve got two hours, and they need to get a move on.
Joongi will leave the party at this point but we will have our next target – Kamurocho.
After heading over to Pink Street, you’ll be guided over to a Pachinko store. After defeating the brawlers outside, the Stingy man in charge will finally open up and reveal where Yui Tabata is. She’s at Masada Hospital.
Yamai needed to see if he still had feelings for Tabata but seeing her with Alzheimer’s and struggling in hospital, the anger and revenge he felt for her setting him up all that time has faded. In fact, he hands over his jacket to her and leaves.
It’s a lovely symbolic moment, one that shows that he’s shedding off the burden that’s been hanging over him this whole time.
<< Chapter 12 |
Chapter 14 >> |
You can check out our full walkthrough and game guide here! |
|