Like A Dragon Gaiden Guide: Chapter 5
Area List (Tap to jump down the page!) |
||
The Man Who Erased His Name |
||
Shishido (Boss Fight) |
The Man Who Erased His Name
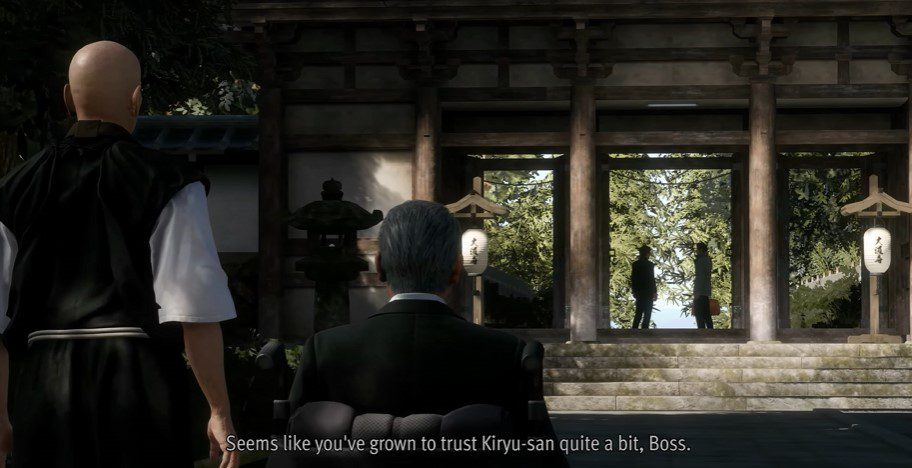
To begin with, head to Akame’s to rest up. In the morning, leave to go and see Hanawa, and select “Return to the temple.“
A big cutscene will then ensue. It all comes down to this; the Patriarch is dead, people are protesting in the streets, and Geomijul’s counterfeiting plant has been destroyed in a fire. Ogikubu is out from his role, while Tokyo governor Aoki is picked in his stead. This ties in nicely with Like A Dragon’s story, as we cut across to the Omi Alliance HQ, right as Ichiban intends to infiltrate the place.
After another big cutscene, head through the city and go back to Akame’s once more to rest up. Yuki is there too, and he will fill you in on the plan.
He’ll also apologize for keeping you in the dark about everything, and interestingly, you’ll get a choice here over whether to forgive Yuki or not.

We personally chose “Lift your head, already.” to forgive Yuki, but the choice here is up to you. Either way, we’ll get a brief recap of Like A Dragon’s story, including how Arakawa was forced to shoot Ichiban but did so to keep him alive and keep up the charade as head of the Omi Alliance.
After this cutscene, we’ll reach the Point of No Return. If you want to complete any other tasks, now is the time to do it. Otherwise, rest on the sofa and let’s crack on.

Masaru Watase will show up at the construction yard and unfortunately, Shishido will double-cross you all. With an incriminating video, he wants to take over the Clan. Even worse, Nishitani is back. The whole thing was a ruse.
When you finally gain control again, you’ll be up against the Omi Alliance boys. Shishido will front everyone, while Nishitani will also be here too. Not only that, but there’s a fair number of thugs to take out.

Immediately use your Hornet to chip away at some of the lesser goons, and close the distance to your comrades too. A good idea here is to grab some of the items dotted around the yard, specifically the shovel or the traffic cones and get in the middle of a big group and smack loads in one consecutive strike. Keep moving around the battlefield and be sure to watch out for Nishitani sneaking up behind you and getting a jumping strike in.
Make sure you’re taking out the lesser goons and when the numbers dwindle down, a cutscene will prompt you to close the distance to Nishitani. Approach the white circle and use your Spider Gadget.

The next part of this fight will see you up on top of the construction building. Take out all the lesser guards first then focus on Nishitani. Be sure to use a combination of Finishing Blows and Rush Combos, and make sure you guard against Nishitani’s sword strikes. When he slashes down, there’s a short window you can attack without retaliation, so be sure to use your Heat Move at this point to maximize your strength.
This will be a rather long fight, so be sure to use your Toughness Z’s when needed, and you’ll come out of this in one piece.
With Nishitani down, we’ll now be back on ground level again and back to beating on Shishido. Given we’re accompanied by Watase and Yuki, be sure to take out all the lesser thugs first so you can focus on Shishido together.

There should be a litany of weapons dotted around, so be sure to use these to take down Shishido’s HP. You also want to make sure you back up when he activates his Heat Move, which will see him growl, push forward and cartwheel over, damaging everything in his path. Back up a bit and guard to avoid the brunt of the attack, and then return to beating him down. Eventually Shishido will be defeated.
You’ll now get another big cutscene, including the end of Shishido and Nishitani once and for all… maybe. This ties in beautifully with Like A Dragon’s story. It turns out Kazuma was here the whole time, posing as security in the background. This actually was Kazuma, as it turns out.

When you gain control of Kazuma again, there will be another big fight to take place. You’ll want to work your way round the room, taking out the individual guards and paying attention to your mini-map. Don’t let any of the guys be overwhelmed, and eventually you’ll come out of this in one piece. Be sure to use your Drones to whittle down the HP of those thugs furthest away from you.
After this fight, a brief cutscene will see you alone in a hallway with a whole bunch of guards. Take out the lesser goons first and then turn your attention to Koizumi. His moves are quite straightforward, so be sure to Guard against the worst of them and hit back with your Drones and also your Finishing Blows. Eventually, he’ll go down.
Unfortunately, the fight is not over just yet, as a familiar face will show up outside.
Shishido
Boss Fight – Shishido |
||
|
Phase 1: The final fight is here. Shishido will be joined by a whole bunch of Omi Alliance goons, clinging to the last shreds of the Yakuza hierarchy. There’s a good number of enemies in this area but you won’t be alone. When the fight starts, focus on the lesser goons first. Your Firefly is particularly useful here, as it can explode within a good chunk of enemies and take them out. Try to isolate individual thugs for this fight, and make use of the hedge too to try and distance yourself from Takeshita, who’s the beefiest of enemies. You want to save him for last.
As the numbers whittle down, focus on the slightly stronger goons, including Takeshita. Once they’re all down, Shishido will goad you into fighting him inside. Phase 2: This is the proper final fight; a one on one bout with Shishido. Be sure to save your Heat Moves for when Shishido is vulnerable, and when he guards, grab Shishido to break his stance. Back up when he uses his Heat Move, as he’ll strike down with his sword and do big damage. Strike just after he’s struck down. Hit your big moves and Finishing Blows when you can, an follow it up with a Rush Combo or two. When Shishido is down to his pink health bar, the arena will change. In this area, Shishido’s attacks will be very similar, but he’ll wind-up a slamming punch. When he leans back, back off and wait for his move to end before moving back in to hit. Another phase of play will kick in when Shishido grabs his sword. This will do big bleed damage and take out a good chunk of your health if you’re not careful. You can counter his Heat Move if you time it right, but it’s a better idea to back off and wait for his move to finish. Be sure to heal up on occasion when your HP gets too low, and time your strikes well. Just going gung-ho in this fight might work for a while but you’ll eat away at a lot of your healing items if you do. Soon, the fight will end up out on the balcony. Here, Shishido will use all the moves he’s done previously, but he’ll be in a powered-up state for much longer. His cartwheel attack does a lot of damage but you can counter midway through this if you time it right. Otherwise, back off and wait for his move to finish before going in and striking hard. Kepe hitting with Rush Combos and Finishing Blows, while guarding whenever Shishido looks set to attack. Eventually, Shishido will go down and the fight will be over. |


There’s a great cutscene that rounds everything out here, as Hanawa will reflect on Ichiban’s journey and how Kazuma gave him courage to fight on. After, there’s a really touching scene involving Taichi and Ayako. It’s a beautiful moment and I won’t spoil the full contents in this walkthrough. Suffice to say, it’s a wonderful way to round out this game and the Yakuza series.
Eventually, Kazuma will be free from his contract with Hanawa and given a new lease on life over in Hawaii.
<< Chapter 4 |
|
You can check out our full walkthrough and game guide here! |
|