
Granblue Fantasy: Relink Guide: Chapter 6
Area List (Tap to jump down the page!) |
||
Seedhollow |
||
Dahli Relicbelt |
||
Ruined City Vallion |
||
Maglielle (Boss Fight) |
||
Excavallion (Boss Fight) |
Seedhollow
Chapter 6 is the longest chapter in the entire game, so buckle up as we’re going to be here for a while. We find ourselves starting in the town of Seedhollow. This is the largest city in the game and it’s quite easy to get turned around here. There are a whole bunch of side-quests to complete should you wish but for now, let’s focus on the main quest.
Proceed forward and by the book stand on the left, be sure to pick up a Journal entry, White Paper on Public Transport. Just to the left of this, along near the edge of the balcony, you’ll find 1x Fortitude Shard. Now, beyond this and to the right of the large stairs, you’ll find a chest that holds 1x Prism Chip and 60x Rupies.
Go up the stairs, you’ll have your Blacksmith, Seiko and your Quest Counter too in the Central Plaza. Now is a great time to complete all your side quests, get up to date with Fate quests and level up your character.
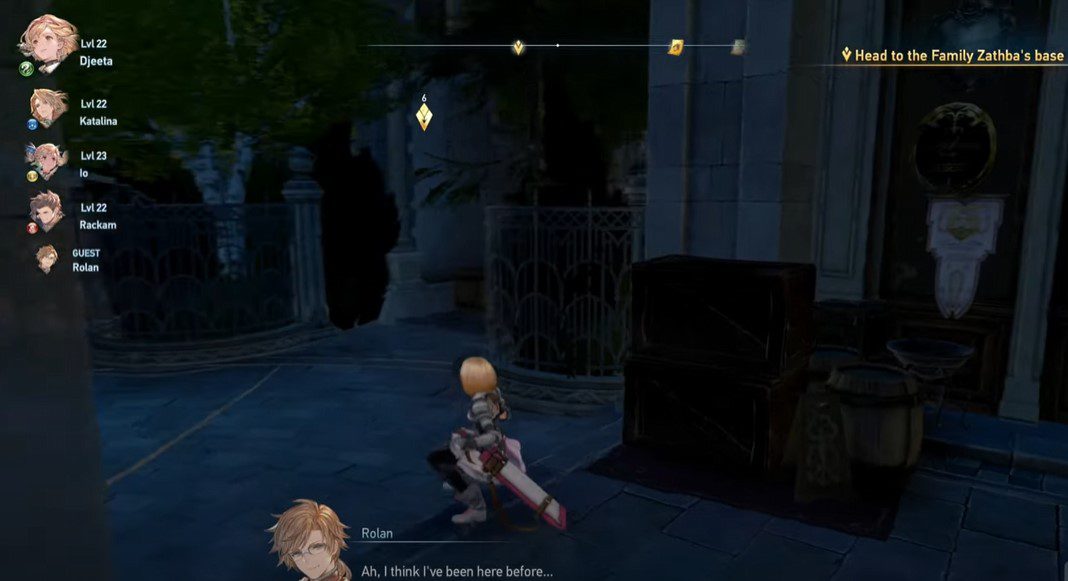
When you’re ready, head through the plaza and to Family Zathba’s base. This will lead you through the alleyways and toward a cutscene. After, head through the alleyway and be sure to open up the chest when you enter a larger area, which holds Standard Refinium and 94 Rupies.
Return back the opposite way, out of the alleyway and back to the Blacksmith. You’ll find the little henchman just to the left of the Smith. He will, in turn, send you over to speak to the receptionist, who is located here:

The receptionist will then send you to speak to three people: Verbose man, sassy lassie and bon vivant. Go and talk to all three.
When you’re finished, return to the stairs up to the Central Plaza and this time, don’t go up but keep moving to the right along the shady alleyway. This will complete this quest.
Next, go and peak to Zathba’s Henchman on the other side of the plaza. He will encourage you to eavesdrop on: a pair of soldiers, a trio of soldiers and the gatekeeper.

Once you’ve spoken to all of them, return to the Henchman and report your findings. With the underling quests completed, head on into the family base, following the markers through town.
After the cutscene, go back to the dock.
Before you speak to Zathba, be sure you have all your affairs in order and have completed everything you want to as this next phase of the mission will last a while!

When you speak to Zathba, be sure to select “Pleasure working with you” and we’ll be on our way.
Route to Dahli Island
Turn around on the ship and pick up a Journal entry, Outlaws Monthly. Go up the stairs and grab 1x Rafale Coin and then speak to Zathba. Press O to depart and we’ll be onto Dahli Island.
Dahli Relicbelt
Head forward to the Hallowed Ground and rest up before sliding down the sand. At the bottom, atop one of the dunes, be sure to grab 1x Wind Shard. Just off to the right, hidden in an alcove (pictured below) you’ll find 1x Red-Hot Cactus and 1 MSP.

There are also 1x Wind Shard, 1x Desert Ash and 1x Red-Hot Cactus pick-ups dotted around the area near the wolves in this large area too. Now, on the left near the ruins, be sure to jump up into the next ridge and follow the path around. Here, you’ll find 2x Wind Shard and a chest holding Sandtomb Resistance II, 223 Rupies and 3 MSP.
Turn back and head toward the ruins on the other side of this large area, you’ll notice this is the only area in sunlight so it should be easy to follow.
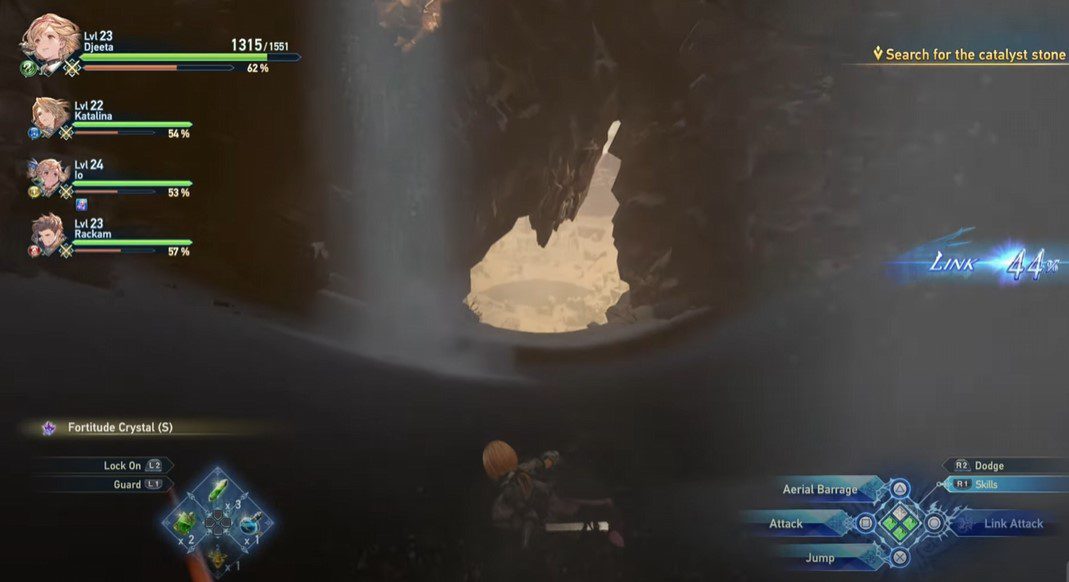
Defeat the goblins, slide down the dune and open the chest to reveal 1x Fortitude Crystal (S), 100 Rupies and 1 MSP. There’s also 1x Desert Ash on the ground just round the corner. Proceed through the archway and on the left, you’ll find the ruins (pictured below).

Head inside and immediately open the chest to reveal 1x Earth Shard and 96 Rupies. If you go up the stairs behind the chest and hop over the low-wall, you’l find 2x Red-Hot Cactus. However, if you climb up on the wall from here to the higher area, you’ll find 1x Wee Pincer.

Hop onto the edge of the wall and jump up to the top. Now, jump over to the adjacent platform and you’ll find a chest (pictured below) holding 10x Fortitude Crystal (S), 925 Rupies and 5 MSP. Drop down, pick up 1x Red-Hot Cactus and 1 MSP from the side and then proceed forward. You’ll also find 1x Wind Shard on the path forward, and tucked into the alcove beyond this, a chest holding 5x Fortitude Crystal (S) and 1x Rose Crystal Knife.
If you move forward a little, the floor will crumble apart and you’ll need to slide all the way down to the bottom. On the way, there are a few Fortitude Shard pick-ups.
When you drop down to the next area, approach the large stairs but just to the left, you’ll find 1x Fire Shard. After collecting it, step forward onto the platform and wait for the key to activate and open the door.
Ruined City Vallion
Step forward from your starting position and grab 1x Journal Entry, Faded Stone Plaque. From here, go straight forward and make note of the green orbs. These will push you along and speed up your traversal of this huge area. For now, approach the Hallowed Ground and be sure to pick up 1x Fire Shard next to the cardboard boxes just before that.

In order to activate the central seal, you’ll need to activate different seals dotted around the area. Head toward the first and after standing on it, you’ll have a boss fight to contend with.
Boss Fight – Rock Golem |
||
|
The Golem fight can be quite tricky as it tends to have a lot of melee strength and can be quite tricky to stay on the key to activate at the same time, so ignore that for now and focus on defeating the boss. In terms of attacks, Rock Golem will use a flurry of melee strikes, along with slamming its fists down on the ground. It’s pretty lumbering and slow when it attacks so be sure to dodge around its punches and hit from behind. Its Overdrive move is Earth Shaker, where it’ll slam into the ground and drop a whole bunch of rocks which will fall from the sky and do big damage. You want to avoid all of this and make note that its weak to Wind, so any elemental damage (like Elemental Gust) will work a charm here, especially if you do a link attack to follow it up. Just keep hitting away and eventually it’ll go down. |
With the Golem down, activate the key and then keep moving round in a clockwise fashion. At the next key, we’ll have another boss fight.
Boss Fight – Gerasine |
||
|
Gerasine is weak to lightning and it uses a variety of dark attacks and melee strikes. It’ll slam its axe around quite a bit, and it’ll also pummel the ground and hit Hell’s Gate, which will see a big area on the ground damaged constantly with dark energy. Its Overdrive attack also sees it smack into the ground and deal dark damage in a splash radius, and then a variation of that where it’ll hit the ground and send waves of dark energy in all four directions. Make note of all of this and try to dodge as best you can and keep pummelling away, eventually it’ll go down. |
Activate the key and return to the central seal. Now, onto the next and final seal, you’ll find one more boss fight to contend with.
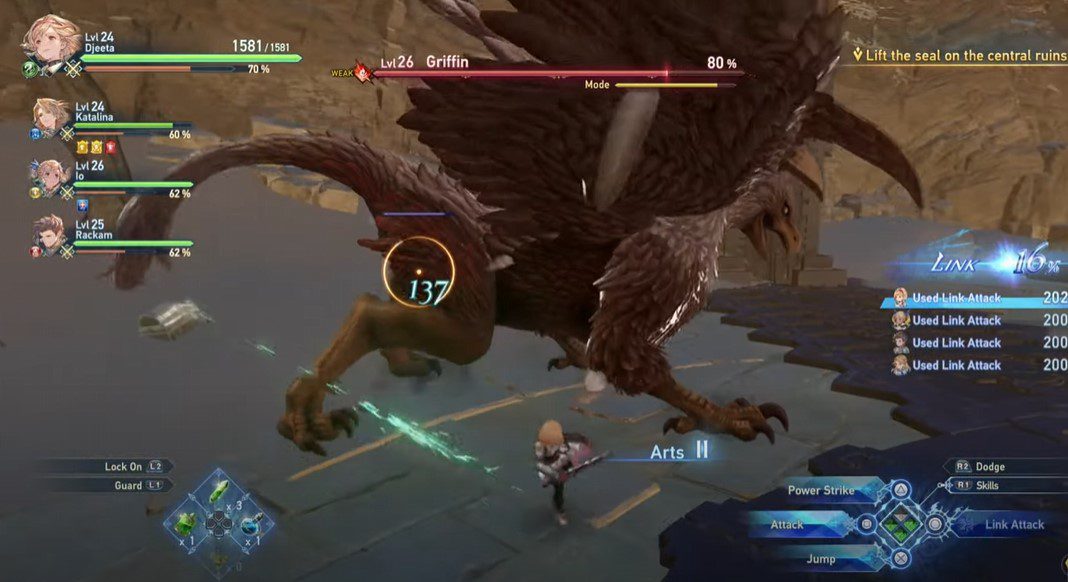
Boss Fight – Griffin |
||
|
The Griffin is quite tricky to fight as it tends to fly around and requires a good deal of jumping attacks. However, it does swoop down and hit the ground from time to time and attacks from here, which is an ideal time to strike. It generally tends to hover for a few seconds before hitting with its talons, and it also has a couple of swipes with its wings while down on the ground too. When it hits Overdrive, Griffin has a move called Whirlwind, where it’ll cause a bunch of tornados to protrude out from its central position. It’ll also swoop across the arena several times before conjuring a whole bunch of tornadoes. It can be difficult to dodge all of this as there’s a lot going on visually but just keep a distance and lock-on to Griffin to avoid the worst. While it pulses red, it tends to hit a lot harder too so try and either hit from afar with skills or wait for its Overdrive to die down. Then, hit with your best Link Attacks and take it down. |
Activate the key and return to the central seal. with the way now open. Use the green orbs to zip back and watch the cutscene play out.
Next, destroy the soldiers that show up. There are two waves, so be sure to take them all out… and then we’ll have another boss fight to contend with. Uh oh!
Boss Fight – Maglielle |
||
|
Maglielle is a tough foe and she’s unfortunately shielded with a big forcefield for a lot of this fight. Keep hitting her with sword strikes but watch out for a couple of nasty attacks she has at her disposal. She’ll conjure forth swords to attack your location, along with a whole bunch of homing swords that hang for a few seconds and then smash down at your location. There’s a variation of this too with swords that dance round in circles and hit a designated point on the ground, and an inverted version where swords will smash out from her location and hit around the arena. If that wasn’t enough, she’ll also use her swords as a boomerang around the arena, and also as a whip. You’ll need to jump over these attacks and be sure to keep using dodge when she winds up another attack. When Maglielle hits Overdrive, she’ll start using an attack called Symphony Superior. This will see waves of swords around the arena hit at random locations that you’ll need to dodge. Watch out for the red line and be sure to keep moving when one sword hovers above your location. This is usually followed up by a move called Sword Opera, which uses the same tactics as before but hits with small bursts of swords. She is weak to dark energy, but largely you’ll need to watch out for the Symphony Superior, which is the toughest move she has and can deal big damage if you’re not guarding and dodging the worst of her attacks. If you can hit a Link Attack, that will definitely help, but eventually you’ll manage to take her down. Just be aware that it’ll take a whole to get through this one. |

Right after the next cutscene, we’ll be thrown into another boss fight.
Boss Fight – Excavallion |
||
|
This giant golem brings serious Shadow and the Colossus vibes! Proceed forward and use the green orbs to throw yourself closer to the big boss. You want to use these to get close to the foot and pummel away at the edge until it opens. Then, proceed forward and strike the Talus Reactor. After completing one foot, you’ll need to do the same to the other. Do be aware that it’ll use a shockwave attack when it hits Overdrive, and you’ll need to use those same green orbs again to bounce as far away from it as possible if you have any hope of surviving. With both legs down, approach each of the gun batteries and fire away at the giant Golem. You want to aim for each of the red marks on its body and periodically step back to watch for big attacks, including splash damage cannons and massive lasers. At 50% health, Golem will be down so now’s your chance. Get close and platform up its body all the way to the head. Slide down, dodging the blasts as you do and hit O when you’re prompted. In this next phase, approach each of the glowing cylinders and keep slashing away until the barrier is broken. Then, approach the Spinal Core and slash away. You’ll likely need to do this several times. When the Core hits Overdrive, it’ll rain down with attacks all around and also swing lasers wildly around the arena too, so be sure to jump and dodge over these. |

Dahlia Airspace
With the Golem defeated, head aboard the airship and speak to Rackam. On the way, be sure to pick up the orb by the side of the ship, which holds 1x Prism Chip. There’s also 1x Rafale Coin on the other side of the ship too. Climb up the stairs and turn around, and you’ll find another Journal entry, Surveillance Report: Phondam. Jump down from here and in front of one of the masts, you’ll find 3x Fortitude Shard.
When you’re ready, hit Depart to proceed with the game.
<< Chapter 5 |
Chapter 7 >> |
You can check out our full walkthrough and game guide here! |
|